How to Choose the Best Loss in Weight Feeder

Choosing the best Loss in weight feeder starts with the material, not the catalogue. Powders that bridge, pellets that roll, and flakes that cling can behave very differently in the same hopper. A feeder that performs well with a test powder may struggle with your production material. Small details matter.

Quality expert W. Edwards Deming offered a useful principle: “In God we trust; all others must bring data.” His words are not specific to feeders, but they fit this decision. Compare accuracy across your actual operating range. Check how refill cycles affect the feed rate, and whether vibration or changing material levels cause fluctuations. Ask suppliers to test your material under realistic conditions, with documented results.

Then consider the full installation. Match the feeder’s capacity and screw or belt design to your target rate and material flow. Review cleaning access, contact materials, controls, and service support. A compact unit may save floor space, yet leave too little room for maintenance. A highly precise model may also be unnecessary for a forgiving process. That trade-off deserves a second look.

Bring clear questions to the selection process. What rate must remain stable? How often will the feeder refill? Which process conditions can disturb the measurement? The best choice is not automatically the most expensive or most accurate model. It is the Loss in weight feeder that delivers repeatable performance with your material, at your required rate, in the space and conditions you actually have. Testing takes time. It can prevent costly surprises later.
How to Choose the Best Loss in Weight Feeder

Understand How a Loss-in-Weight Feeder Works

A loss-in-weight feeder controls material flow by weighing its hopper and measuring how quickly the weight falls. The hopper, feed screw, and drive usually sit on load cells. As material leaves, the controller compares the weight change with the target feed rate. It then adjusts screw speed to keep delivery close to the setpoint. Simple in principle. In practice, vibration or an uneven material surface can disturb readings.

For example, a powder may bridge above the screw while the hopper still contains plenty of material. The measured weight drops slowly, so the controller may reduce screw speed, even though little powder is reaching the process. Granules behave differently, and their flow can shift with moisture or particle size. A stable installation, suitable feeder geometry, and careful calibration all matter. Operators should check actual output by collecting material over a timed interval, not rely only on the screen.

During hopper refill, the feeder’s weight rises, so normal loss measurement is temporarily interrupted or corrected by the control system. Refill timing and settings affect accuracy, especially at low feed rates. This is easy to underestimate. I would also watch for loose connections, changing material batches, and residue around the screw. These details can explain a rate that drifts despite an unchanged setpoint.


How to Choose the Best Loss-in-Weight Feeder

Understand how a loss-in-weight feeder uses hopper weight loss to monitor and control material flow.

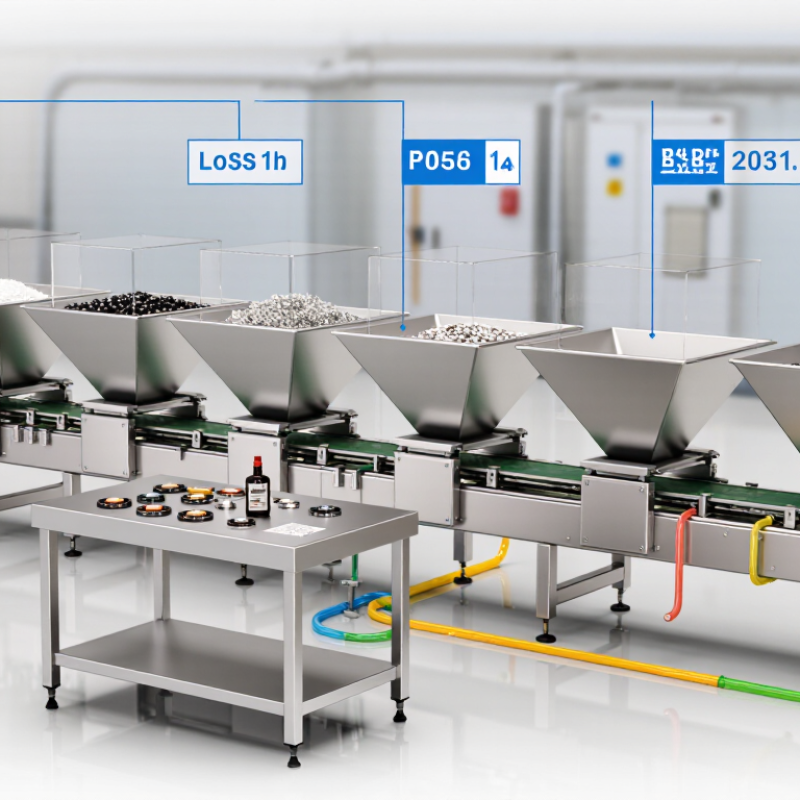
Illustrative operating data: load cells track the hopper’s decreasing weight, and the feeder calculates mass flow from the rate of weight loss. The controller adjusts the screw speed to keep the measured feed rate close to its target. When selecting a feeder, consider the required feed-rate range, material characteristics, accuracy, and refill strategy.

Define Your Material and Process Requirements

How to Choose the Best Loss in Weight Feeder

Define Your Material and Process Requirements

Before comparing feeders, describe the material as it behaves on the production floor. Note particle size, bulk density, moisture, flowability, and whether the material clumps or produces dust. A free-flowing pellet may feed smoothly, while fine powder can bridge above the outlet. Small details matter. If possible, test a representative sample rather than relying only on a supplier’s data sheet; material properties can shift with humidity or handling.

Next, define the process target. Record the required feed rate, acceptable accuracy, batch or continuous operation, and how often the rate must change. Check available space, hopper refill method, and connections to upstream and downstream equipment. A feeder that performs well at one steady rate may struggle during frequent adjustments. I have seen specifications miss an awkward refill point; it is easy to overlook, and worth checking on site. Leave room for uncertainty when material behavior varies between deliveries.

Tips: Bring a sample, process-rate range, and layout sketch to a technical review. Ask how accuracy is verified at your actual operating rate, not just under ideal test conditions. Also confirm cleaning and calibration needs. They affect uptime.

How to Choose the Best Loss in Weight Feeder - Define Your Material and Process Requirements
Selection dimension What to define Example requirement or material data Feeder selection implication
Material identity and condition Specify the material, grade, moisture condition, temperature, and whether its properties vary between batches. Example: dry polymer pellets; note any recycled-content variation or temperature changes. Test the actual production material. Changes in moisture, temperature, or formulation can affect flow and feeding behavior.
Bulk density Provide loose and, where relevant, aerated or settled bulk density in kg/m³ or lb/ft³. Example: a powder measured at 500 kg/m³; confirm the value using the material and test method used at the plant. Density affects hopper capacity, screw fill, and the relationship between feeder speed and mass flow.
Particle size and shape Record the particle-size distribution, largest particles, fines content, and particle shape. Example: pellets around 3–5 mm with a small fines fraction; actual distribution should be measured. Particle size helps determine screw geometry and clearance; irregular or broad-size materials may segregate or feed unevenly.
Flowability and cohesion Describe whether the material is free-flowing, cohesive, prone to bridging, or sensitive to aeration. Use shear testing when flow behavior is uncertain. Example: a fine powder that forms a stable arch after standing. Cohesive materials may need a suitable agitator, mass-flow hopper design, or other flow aid. Confirm the solution through testing.
Required feed-rate range State the minimum, normal, and maximum continuous rates, with units and expected operating duration. Example: 10–100 kg/h continuous, with regular operation near the middle of the range. Select a feeder whose usable range covers the operating points; verify performance at both low and high rates.
Accuracy and repeatability Define the allowable deviation, averaging period, and test conditions. Distinguish short-term variation from long-term accuracy. Example: a process target of ±1% over a specified test interval, subject to validation with the actual material and rate. Accuracy depends on the feeder, load-cell system, control settings, installation, and material behavior. Request a documented performance test.
Batch size and hopper autonomy Define how long the feeder should run between refills and the available space for the hopper and refill equipment. Example: at 50 kg/h, a 25 kg usable inventory provides about 30 minutes of operation before accounting for refill and reserve requirements. Size the usable inventory for the required autonomy. Allow for headspace, refill strategy, and stable weighing during operation.
Refill method and refill disturbance Specify manual filling, vacuum conveying, or another refill method, including refill frequency and whether feeding must continue during refill. Example: automatic refill every 20 minutes while maintaining a steady downstream feed. Refill can introduce weight disturbances. Define how the system will manage refill and verify performance during the refill cycle.
Process interface and control Document downstream equipment, control signals, operating modes, alarms, and required data communication. Example: continuous setpoint from a plant controller, with feed-rate feedback and low-material alarm. Confirm signal types and control responsibilities with the process team before specifying the feeder and controls.
Material and site conditions Identify dust, abrasiveness, corrosiveness, temperature, washdown, hazardous-area classification, and applicable hygiene requirements. Example: an abrasive powder in a dry indoor area, with dust containment required at transfer points. These conditions affect contact materials, seals, enclosure, cleaning access, and required safety or compliance features.
Validation and acceptance criteria Agree on the test material, target rates, run duration, refill conditions, sampling method, and acceptance limits before purchase. Example: test at minimum, normal, and maximum rates using representative production material and record the measured deviation. A defined acceptance test makes feeder performance comparable and helps confirm suitability for the real process.

Compare Feeder Types, Components, and Configurations

A loss-in-weight feeder meters material by tracking the weight lost from its hopper. It suits powders and granules that need steady, controlled dosing. Volumetric screw feeders are simpler, but their output can shift when bulk density changes. Belt feeders handle larger, free-flowing solids; vibratory trays can be gentler on fragile particles. The right type depends on flow behavior, required rate, and how often the material changes.

Compare the full assembly, not just the feeder name. A load cell measures hopper weight; the screw, agitator, and outlet shape influence flow. Cohesive powder may bridge above the screw, while an oversized agitator can disturb delicate flakes. Small details matter. Check refill method, dust sealing, and cleaning access. The U.S. Geological Survey’s Mineral Commodity Summaries 2024 estimated U.S. crushed-stone production at about 1.5 billion tons in 2023. That scale illustrates why abrasive solids call for wear-resistant contact parts and practical maintenance access.

Configuration should match the process. A single feeder may serve one line; multiple feeders can blend ingredients, but each adds calibration and control work. NIST Handbook 44 provides weighing-system tolerances by equipment class and load, a useful reference when setting verification criteria. Still, published tolerances cannot predict every powder’s behavior. Run trials with the actual material, including startup, refill, and low-hopper conditions. I would not skip that last test.

Evaluate Accuracy, Controls, and System Integration

How to Choose the Best Loss in Weight Feeder

Evaluate Accuracy, Controls, and System Integration

Accuracy starts with the material, not the brochure. A fine powder can bridge, while pellets may surge into the screw. OIML R 61-1:2017 defines accuracy classes X(0.2), X(0.5), X(1), and X(2) for automatic gravimetric filling instruments. These classes are useful context, not a universal feeder guarantee. Ask for test results using your material, target rate, and refill cycle. Check both steady-state output and recovery after refill. A tidy average can hide short, damaging feed swings.

Controls matter just as much. Confirm the feeder records weight loss, detects refill events, and adjusts the drive without hunting. Then check integration with the plant’s PLC or supervisory system. ISA-95 offers a framework for organizing control and production data; agree on tag names, units, alarms, and timestamps before commissioning. Test what happens when communication drops. Some specifications still overlook this. That deserves a second look.

Tips: Run a witnessed acceptance test with representative material. Log setpoint, actual rate, and refill recovery time. Keep raw data, not just a pass/fail sheet.

Assess Maintenance Needs, Supplier Support, and Total Cost

When comparing loss-in-weight feeders, look beyond the purchase price to the work required to keep them accurate. Ask how technicians reach the belt, load cells, and refill points. If a cover needs awkward removal for routine cleaning, small service tasks can consume production time. Check the recommended inspection and calibration intervals, too. Dust, vibration, and changing material flow may affect performance.

Supplier support matters most when the feeder behaves unexpectedly. Ask who handles commissioning, how quickly technical questions are answered, and whether staff can help diagnose issues remotely. Clarify which spare parts are stocked and how long common components typically take to arrive. Get the support scope in writing. A polished demonstration is useful, but it cannot replace clear service procedures and realistic response commitments.

Compare total cost over the feeder’s expected service life, including installation, labor, calibration, consumables, spare parts, and downtime. A lower initial quote may not stay lower if belt replacement is frequent or service access is poor. Estimate costs using your actual operating hours and material conditions; supplier estimates may miss details at your site. Some costs are hard to predict. Record your assumptions, then revisit them with maintenance staff before choosing.

An exceptional record of quality and service for 35+ years.