How to Choose the Best Curb Paver for Your Project?
Choosing a Curb Paver is not just a color decision. It is a choice about drainage, loading, soil, installation, and long-term upkeep. A sample can look perfect beside a showroom wall. On a sloped driveway, the same paver may shift or hold water if the base and edge restraints are poorly designed.
Industry guidance supports looking below the surface. The Concrete Masonry & Hardscapes Association’s technical guidance for interlocking concrete pavements emphasizes proper base preparation, jointing, and restraint. The U.S. Environmental Protection Agency’s green-infrastructure reports also describe permeable pavement as a stormwater tool, while noting that performance depends on site conditions and maintenance. That matters near a curb, where runoff, sediment, and freeze-thaw exposure can quickly reveal weak design choices.
Pavement engineer Dr. Brian Shackel has published extensively on segmental pavement design. A practical paraphrase of his engineering approach is: “Design the pavement structure before choosing the surface.” This is a paraphrase, not a verbatim quotation. The distinction matters; product marketing should not be mistaken for independent evidence.
For your project, compare concrete, clay, and permeable options against expected traffic, climate, drainage needs, and repair access. Check manufacturer specifications, relevant test data, and installation details—not only photographs. A small oversight can become an expensive repair. And even careful planning has limits: local soil conditions and workmanship can change the result. Start with the site, then choose the Curb Paver that fits it.
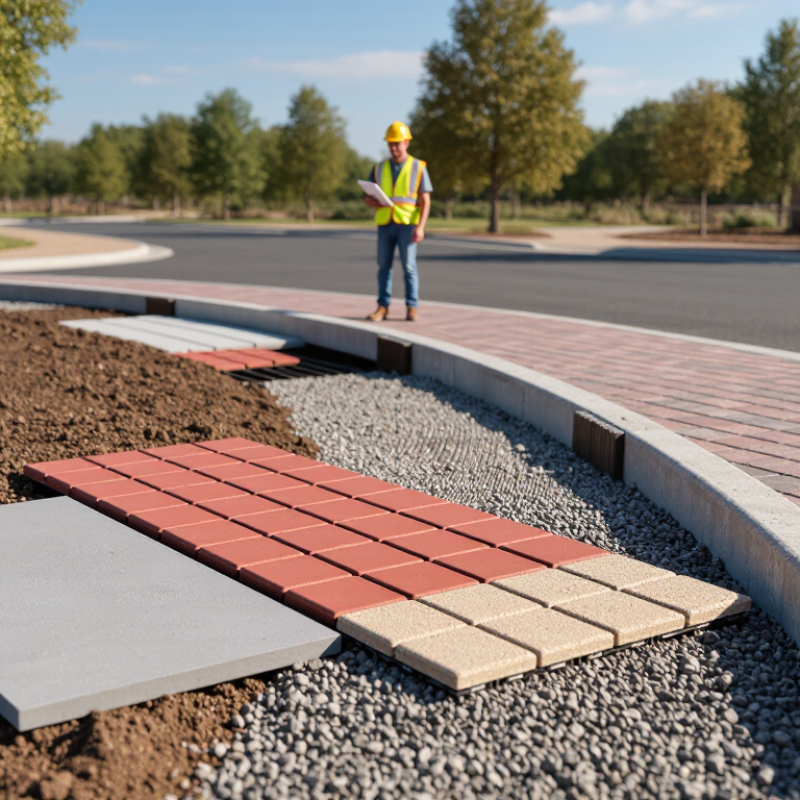
Define the Curb’s Function and Expected Traffic Loads
Before comparing curb pavers, decide what the curb must do. Is it separating a garden bed from a walkway, containing a driveway, or guiding vehicles through a parking area? Each use creates different forces. A low landscape edge may face foot traffic and occasional mower contact. A driveway curb may take repeated tire pressure, especially when cars turn sharply beside it. Looks can mislead.
Estimate both the weight and frequency of traffic. A delivery van crossing the edge every day creates a different demand than a family car passing once or twice. Note where wheels may climb the curb, brake, or pivot; these movements can stress individual units more than straight travel. For heavier vehicles, ask a qualified designer to review the expected loads and installation details. Guessing is not a specification.
Choose pavers with strength and dimensions suited to that use, but assess the foundation too. A strong unit can shift or crack over a poorly compacted base, particularly where water softens the soil. Check the manufacturer’s published load guidance, and confirm that the bedding and joint materials suit the site. A small trial section can reveal awkward cuts or movement before the full run is installed. Not glamorous, but useful. Be honest about uncertain traffic: a curb that may later support service vehicles deserves more capacity than today’s light use suggests.
Compare Materials Using ASTM C936’s 8,000-psi Strength Benchmark
For a concrete curb paver, ASTM C936 offers a useful strength reference: paving units must average at least 8,000 psi in compressive strength, with no individual test below 7,200 psi. The standard also limits water absorption to a 5% average and 7% maximum for an individual unit. Ask suppliers for current, third-party test reports—not just a product sheet repeating the benchmark. Check that the tested product matches the paver’s thickness and mix; small changes can affect performance.
That number is a starting point, not a verdict. ASTM C936 addresses concrete interlocking paving units, so it may not apply directly to every curb profile or to clay and stone products. Compare those materials using specifications and test methods suited to each one. A curb beside a driveway faces vehicle impact, wet soil, and freeze-thaw exposure. Inspect the base design and edge restraint, too; a strong unit can still shift over a poorly compacted base. One detail is easy to overlook: compressive strength does not measure abrasion or resistance to deicing salts. Request relevant durability data for the site conditions. I would leave some room for judgment here; laboratory results cannot fully predict every installation.
Choose Paver Thickness: 60 mm for Walkways, 80 mm for Vehicle Areas
For a garden path or patio used only by pedestrians, 60 mm pavers are often suitable. They are easier to handle and can create a neat surface around steps, planting beds, and drains. The base still matters. Compact the sub-base evenly, and use bedding material at a consistent depth. A thin paver on a poorly prepared base may rock or crack. That detail is easy to underestimate.
Vehicle areas need more support. An 80 mm paver is a common choice for driveways and parking spaces because it handles heavier loads better. The turning point near a garage deserves special care; tires can place extra stress on individual pavers there. Thickness alone is not a guarantee. Soil conditions, drainage, base depth, and expected vehicle weight all affect performance. Check the paver’s installation guidance and local project requirements before ordering. A delivery van may need a different design from a small car. I would not assume they are interchangeable. It can be tempting to choose the thinner option to save money, but repairs later may cost more.
Check Water Absorption and Freeze–Thaw Durability for Your Climate
Water absorption is a useful clue when choosing a curb paver, especially in wet or cold regions. A more absorbent unit can hold more water in its pores. If that water freezes, repeated expansion may contribute to cracking or surface damage. Check the test method and reported absorption value, not just a product description. Small details matter.
Freeze–thaw durability depends on more than the paver alone. Frequent temperature swings, long periods of saturation, and poor drainage can increase stress. In areas where de-icing salts are used, ask whether test data covers salt exposure as well as freeze–thaw cycling. Compare results from the same recognized test method, and check local project specifications; figures from different methods may not be directly comparable. There is no single number that fits every climate.
Look at the installation conditions, too. A well-drained base and properly managed runoff help curb pavers dry between wet spells. Request independent test reports when available, and confirm that the tested product matches the size and finish you plan to install. A sample can reveal texture and visible flaws, but pores are not easy to judge by eye. I would not rely on appearance alone. If the supplier’s data is unclear, pause and ask for clarification before ordering.